


4. Inserting images
A picture says more than a thousand words and a website without images is simply dull. That is why it is a good idea to add another piece of content, this time an illustration.
4.1 The img tag
To insert an image we use the img tag (img stands for image). But before we place it in the code, it is a good idea to first add an image to the website folder on the desktop. You can an image here download one that is suitable for the website. It is transparent and light in terms of kilobytes (if you want to know exactly how to optimise an image for your website, you can register for the Adobe Photoshop training course where all the important aspects of web optimisation are covered).
Place the image you downloaded above in a subfolder within the website folder on the desktop. Give this subfolder a logical name of your own and bear in mind that file and folder names are case sensitive. In my example I call the folder pic.
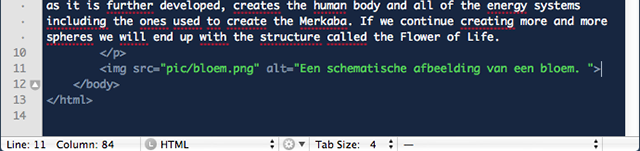
Next we are ready to place the code for the image. When you put the cursor on a new line below the closing tag of the paragraph, you can type this code; <img src="pic/bloem.png" alt="Een schematische afbeelding van een bloem." >. The code looks like the image below. View the result in your browser.
Tip: always include the altattribute (alt stands for alternative). This is displayed when the photo cannot be found and it is read out by so-called screen readers used by people with disabilities. Again, Google among others attaches value to it.